There are two ways of configuring PowerController – either through the web pages, or through the Media Center interface. The web interface is more sophisticated, so is better if you have a keyboard and mouse available.
Configuration from the web page – preferred option
After installing PowerControllerWHS or PowerControllerMCE, enable the web server as described in the installation instructions. The address of your server will be shown on the configuration screen, e.g. http://192.168.0.10:53107/. Visit that link in any web browser, and click Preferences in the top right hand corner.
Configuration from Media Center
After installing PowerControllerMCE, you will be asked to choose if you want to run in Local Mode where everything is run from the local PC, or remote mode where everything is run from another PC – i.e. the settings and Z-Wave USB device are on another PC.
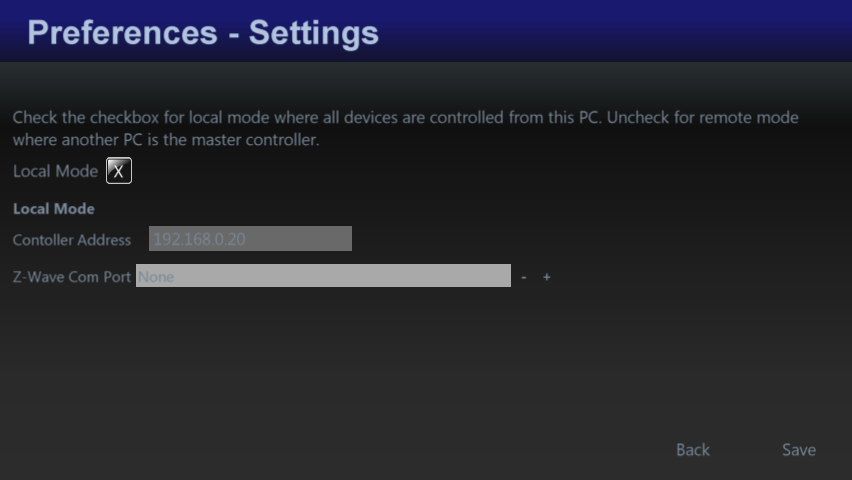
If you use a BBSB controller, you may want to use a static IP address. Instructions for doing that can be found on the Bye Bye Standby forums here.
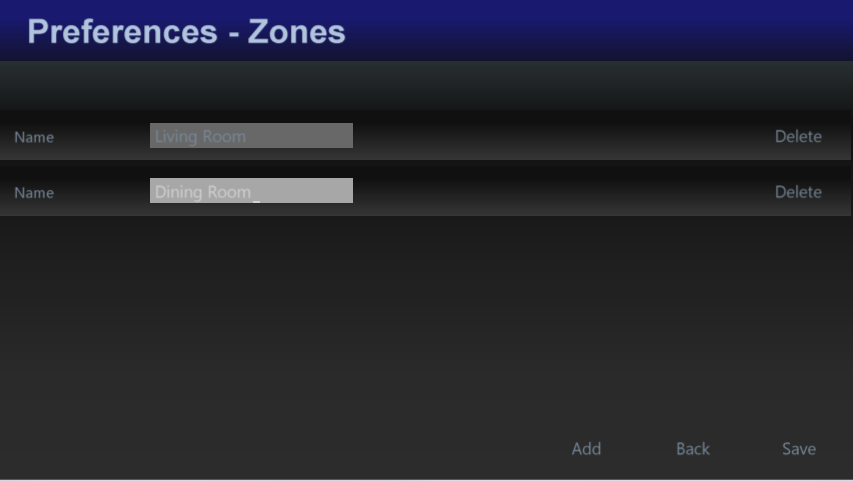
After you have set that up, you can set up the Zones in your house. This might be different rooms, or different floors that you want to group your devices by.
After you have set that, you can add your devices.
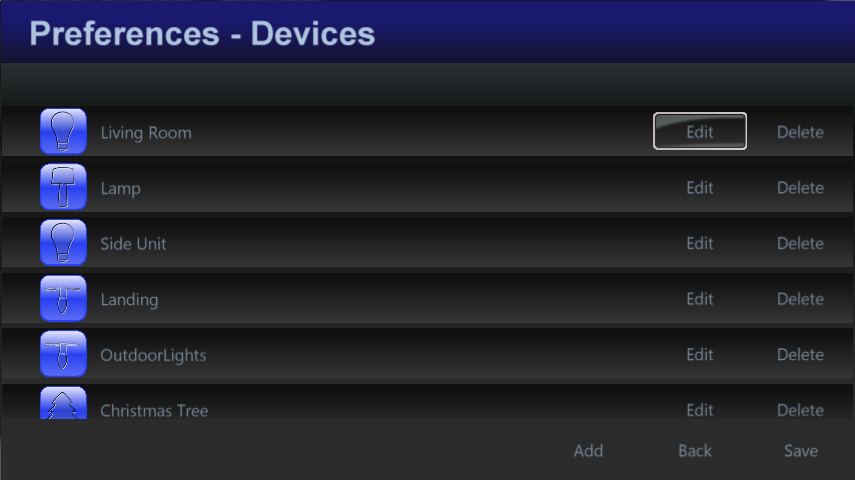
Give them a name, pick a type of device. The type is simply used to give an image, so don’t stress if your device type isn’t in there. It’s just used to show an icon. Then optionally pick a scene, and the control system type. For BBSB, pick the housecode and unitcode, and for Z-Wave pick the device number. For Mi Casa Verde, you can pick the device by name. For Webcams, enter the URL of the webcam that produces jpg images (most webcams have this somewhere!). If your webcam requires a username and password enter then in the URL as follows: http://username:password@webcam_address:webcam_port/, e.g. http://martin:welcome1@192.168.0.5:81/.
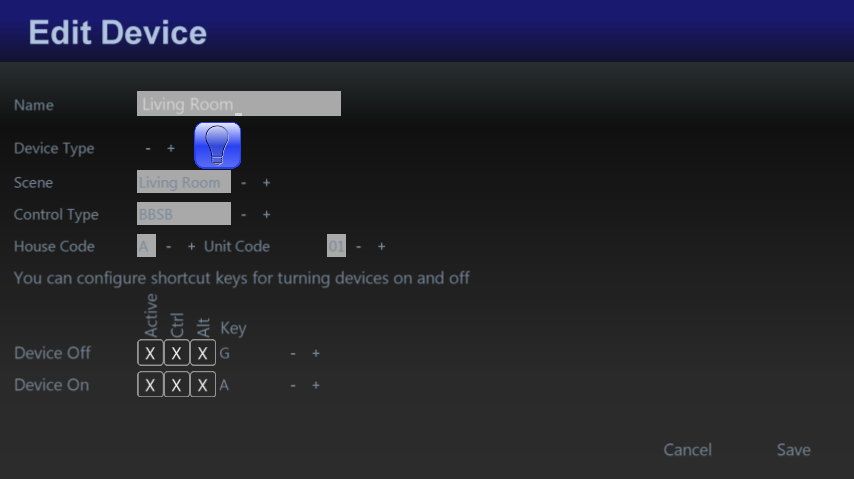
You can also pick a shortcut key combination for turning devices on and off, and for dimmable Z-Wave devices for dimming it up and down. This is particularly useful for use with a universal remote control which can then be programmed to turn devices on and off without having to open the PowerControllerMCE application, or even without having to turn on your TV.
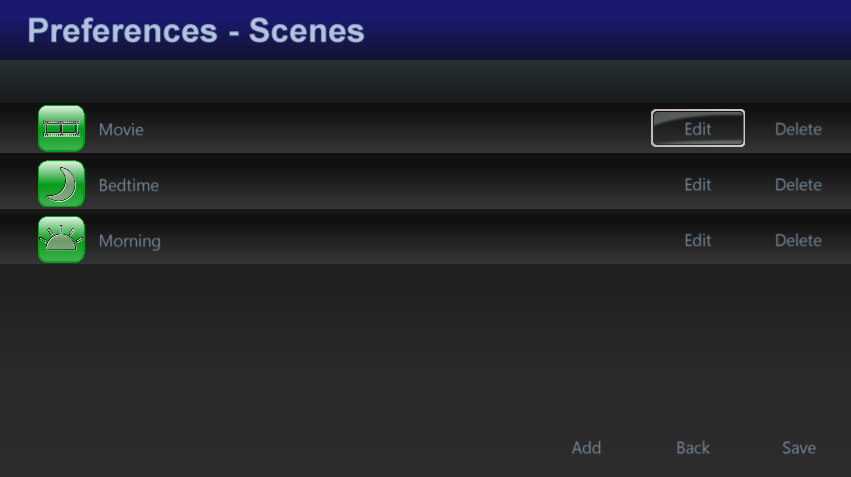
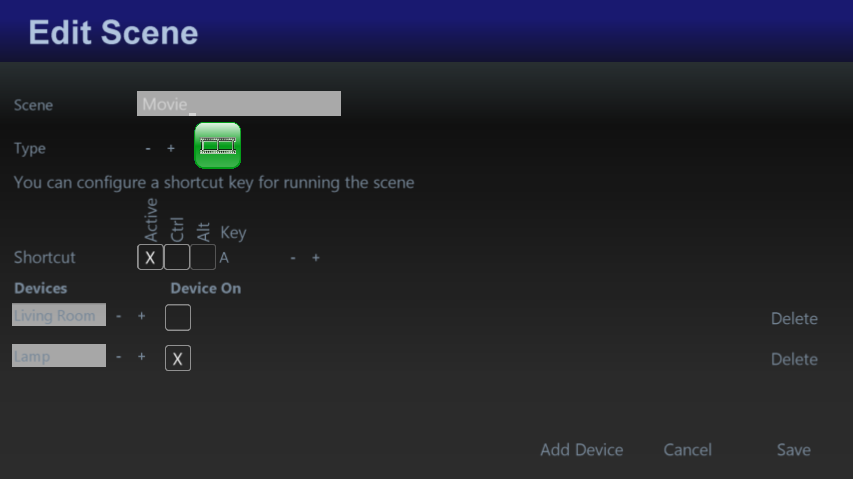
Next you can set up scenes. These are pre-set actions which can be performed such as turning some devices on and some off, and setting the dim level. You can also set up keyboard shortcuts for running scenes from your remote control too.
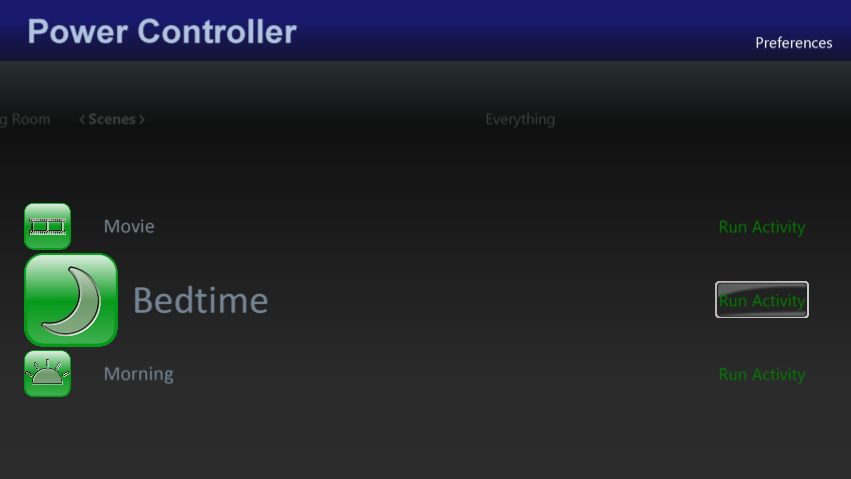
Once you have the system set up, you can turn on or off devices individually, or you can turn off all devices at once, all using your remote control.
You can also go in to the Scheduled Events page and set repeating times for your devices to turn on or off
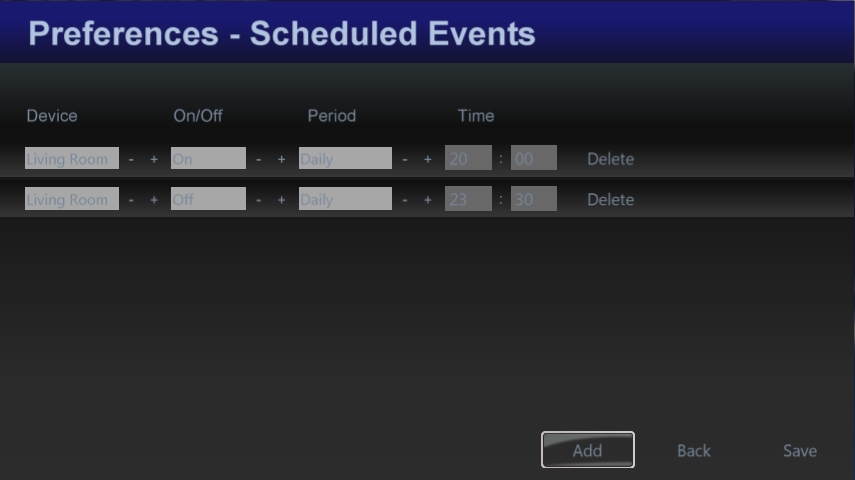
You can pick to repeat the event hourly, 2 hours, 4 hours, 6 hours, 12 hours or Daily. So, for example, if you want your lights to go on at 6pm every day and off at 10pm, add one event to turn on your lights as 18:00 with a frequency of Daily, and then add another even to turn your lights off at 22:00 with a frequency of Daily. As long as your computer is running, the messages will be sent to the controller. Media Center does not have to be running for the events to be sent.
Home Server
If you are using Z-wave, install the Z-Wave USB controller software on your home server first.
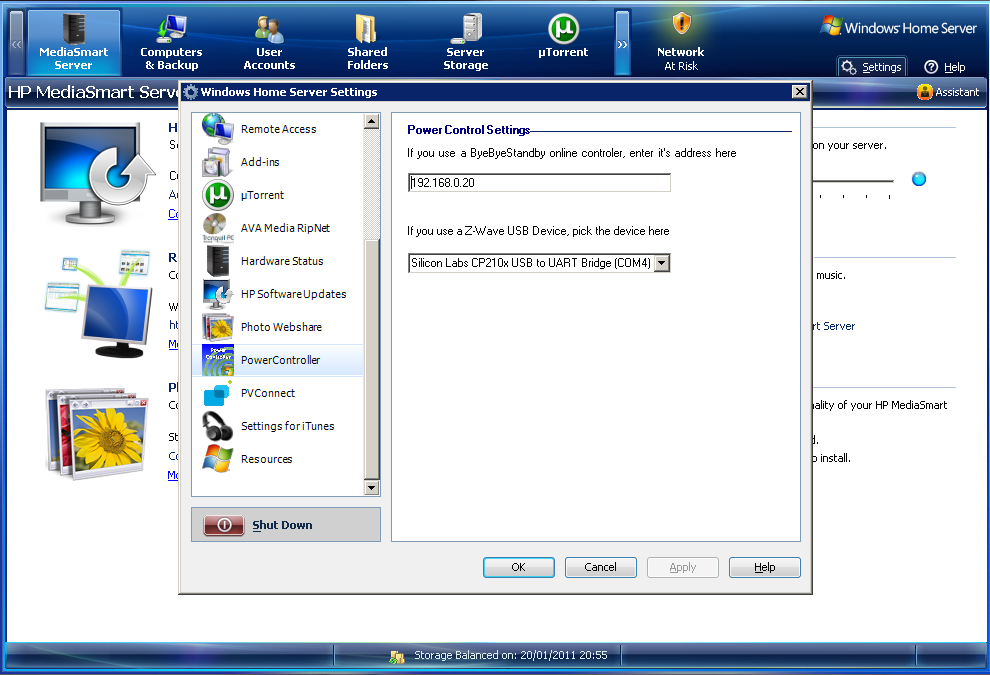
To install the server version of Power Controller, download it and put it in your Software/Add-Ins folder on your home server. Then go to settings on the home server and install the add in. The home server console will close after installation, so open it up again and go to settings and choose PowerController. Either enter the BBSB controller address or pick your Z-Wave device (or both). You are then ready to start pointing your media center installations at this server.